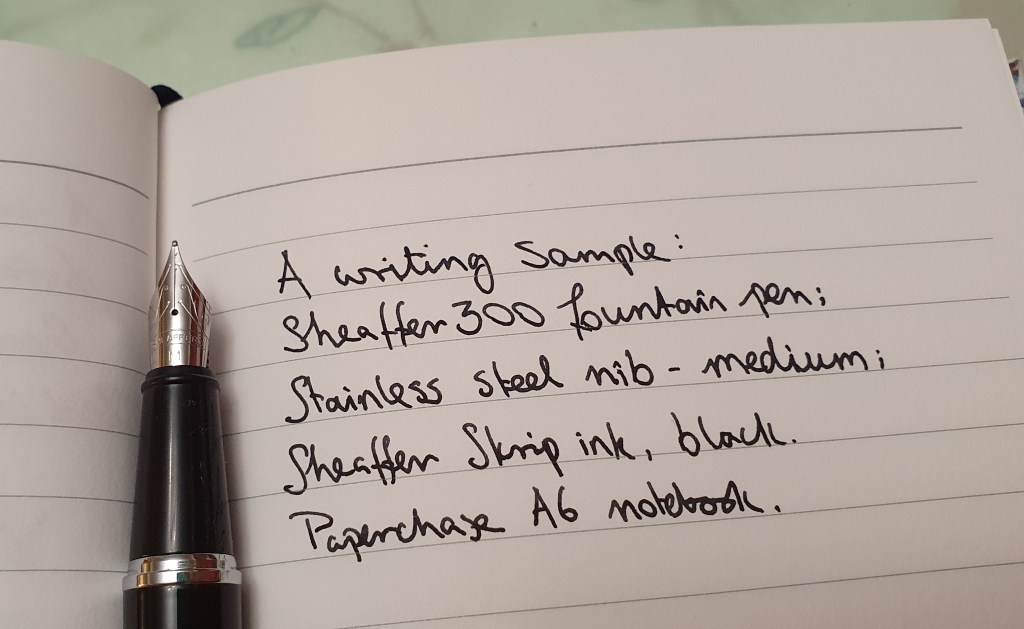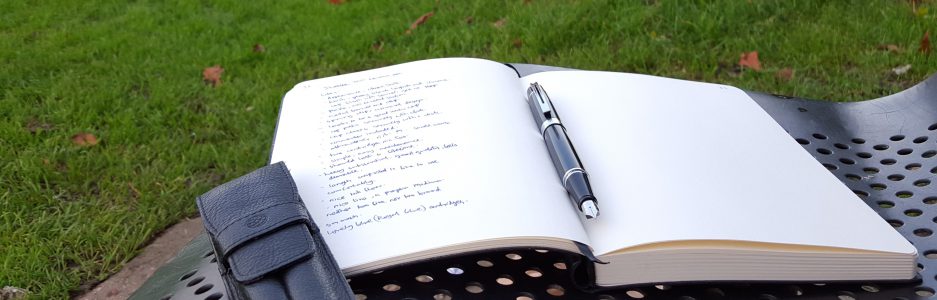
Since buying this pen two years ago, it has stayed inked in my pen cup. There seemed no point in taking it out of service. It has been paired with Pilot Iroshizuku Tsuki-yo ink. It is always ready and never skips or hard-starts. It does not seem to lose any ink to evaporation. With its large ink capacity and light use, it can easily stay inked for six months or more.
Yesterday, on finding it almost empty I decided to give it a clean. As it had been so long since since the last clean, I had forgotten the detail of how to do it, although I had a recollection of there being a few points to bear in mind. I had to recall these as I went along. So while the sequence is now fresh, it seems a good time to describe the process. Actually I found it very satisfying.
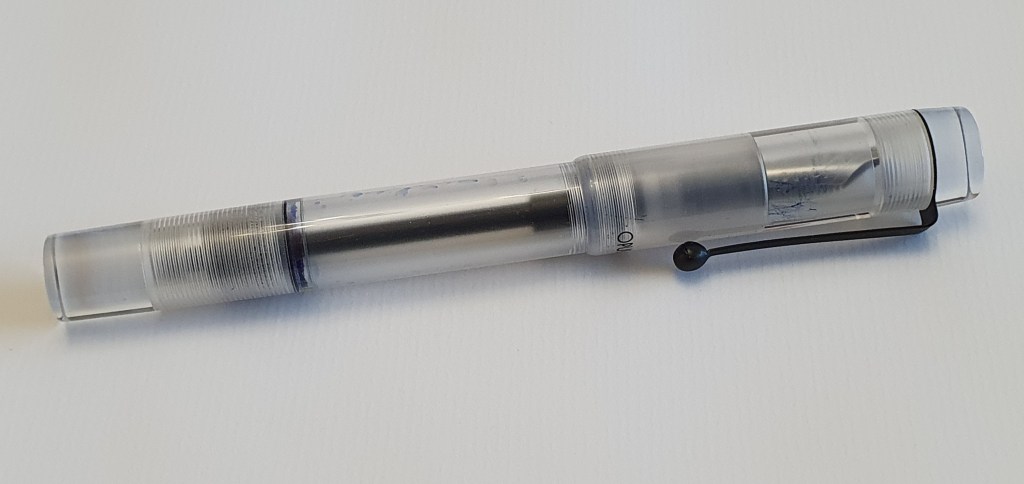
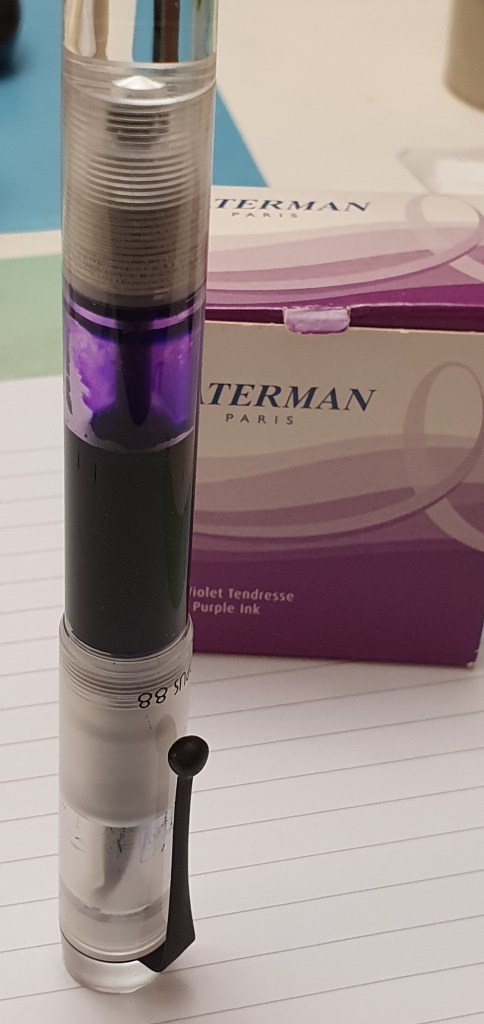
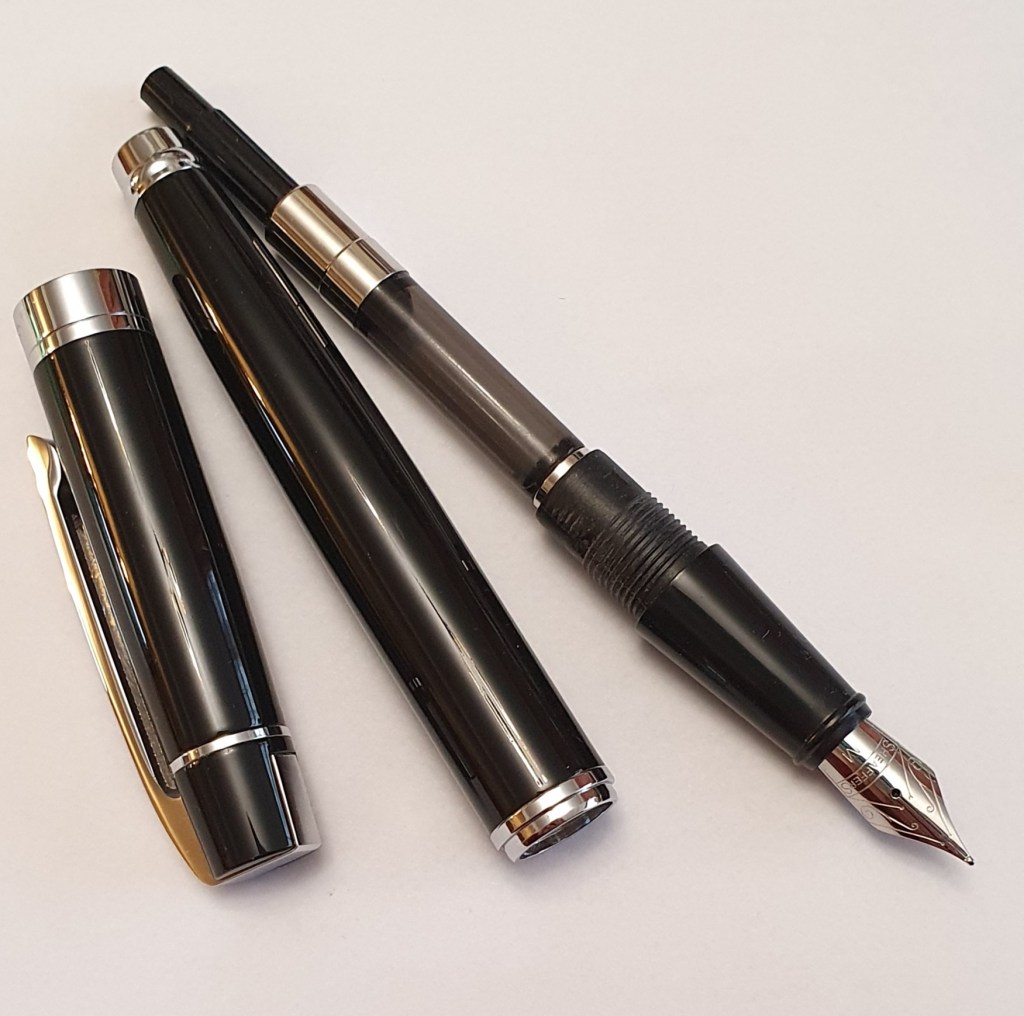
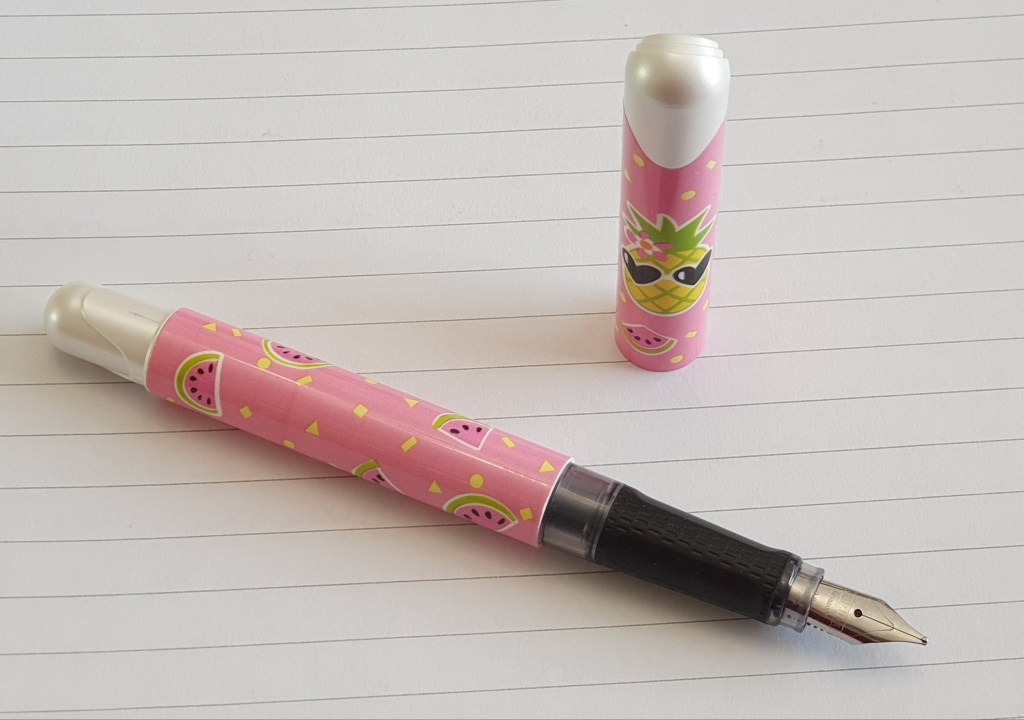
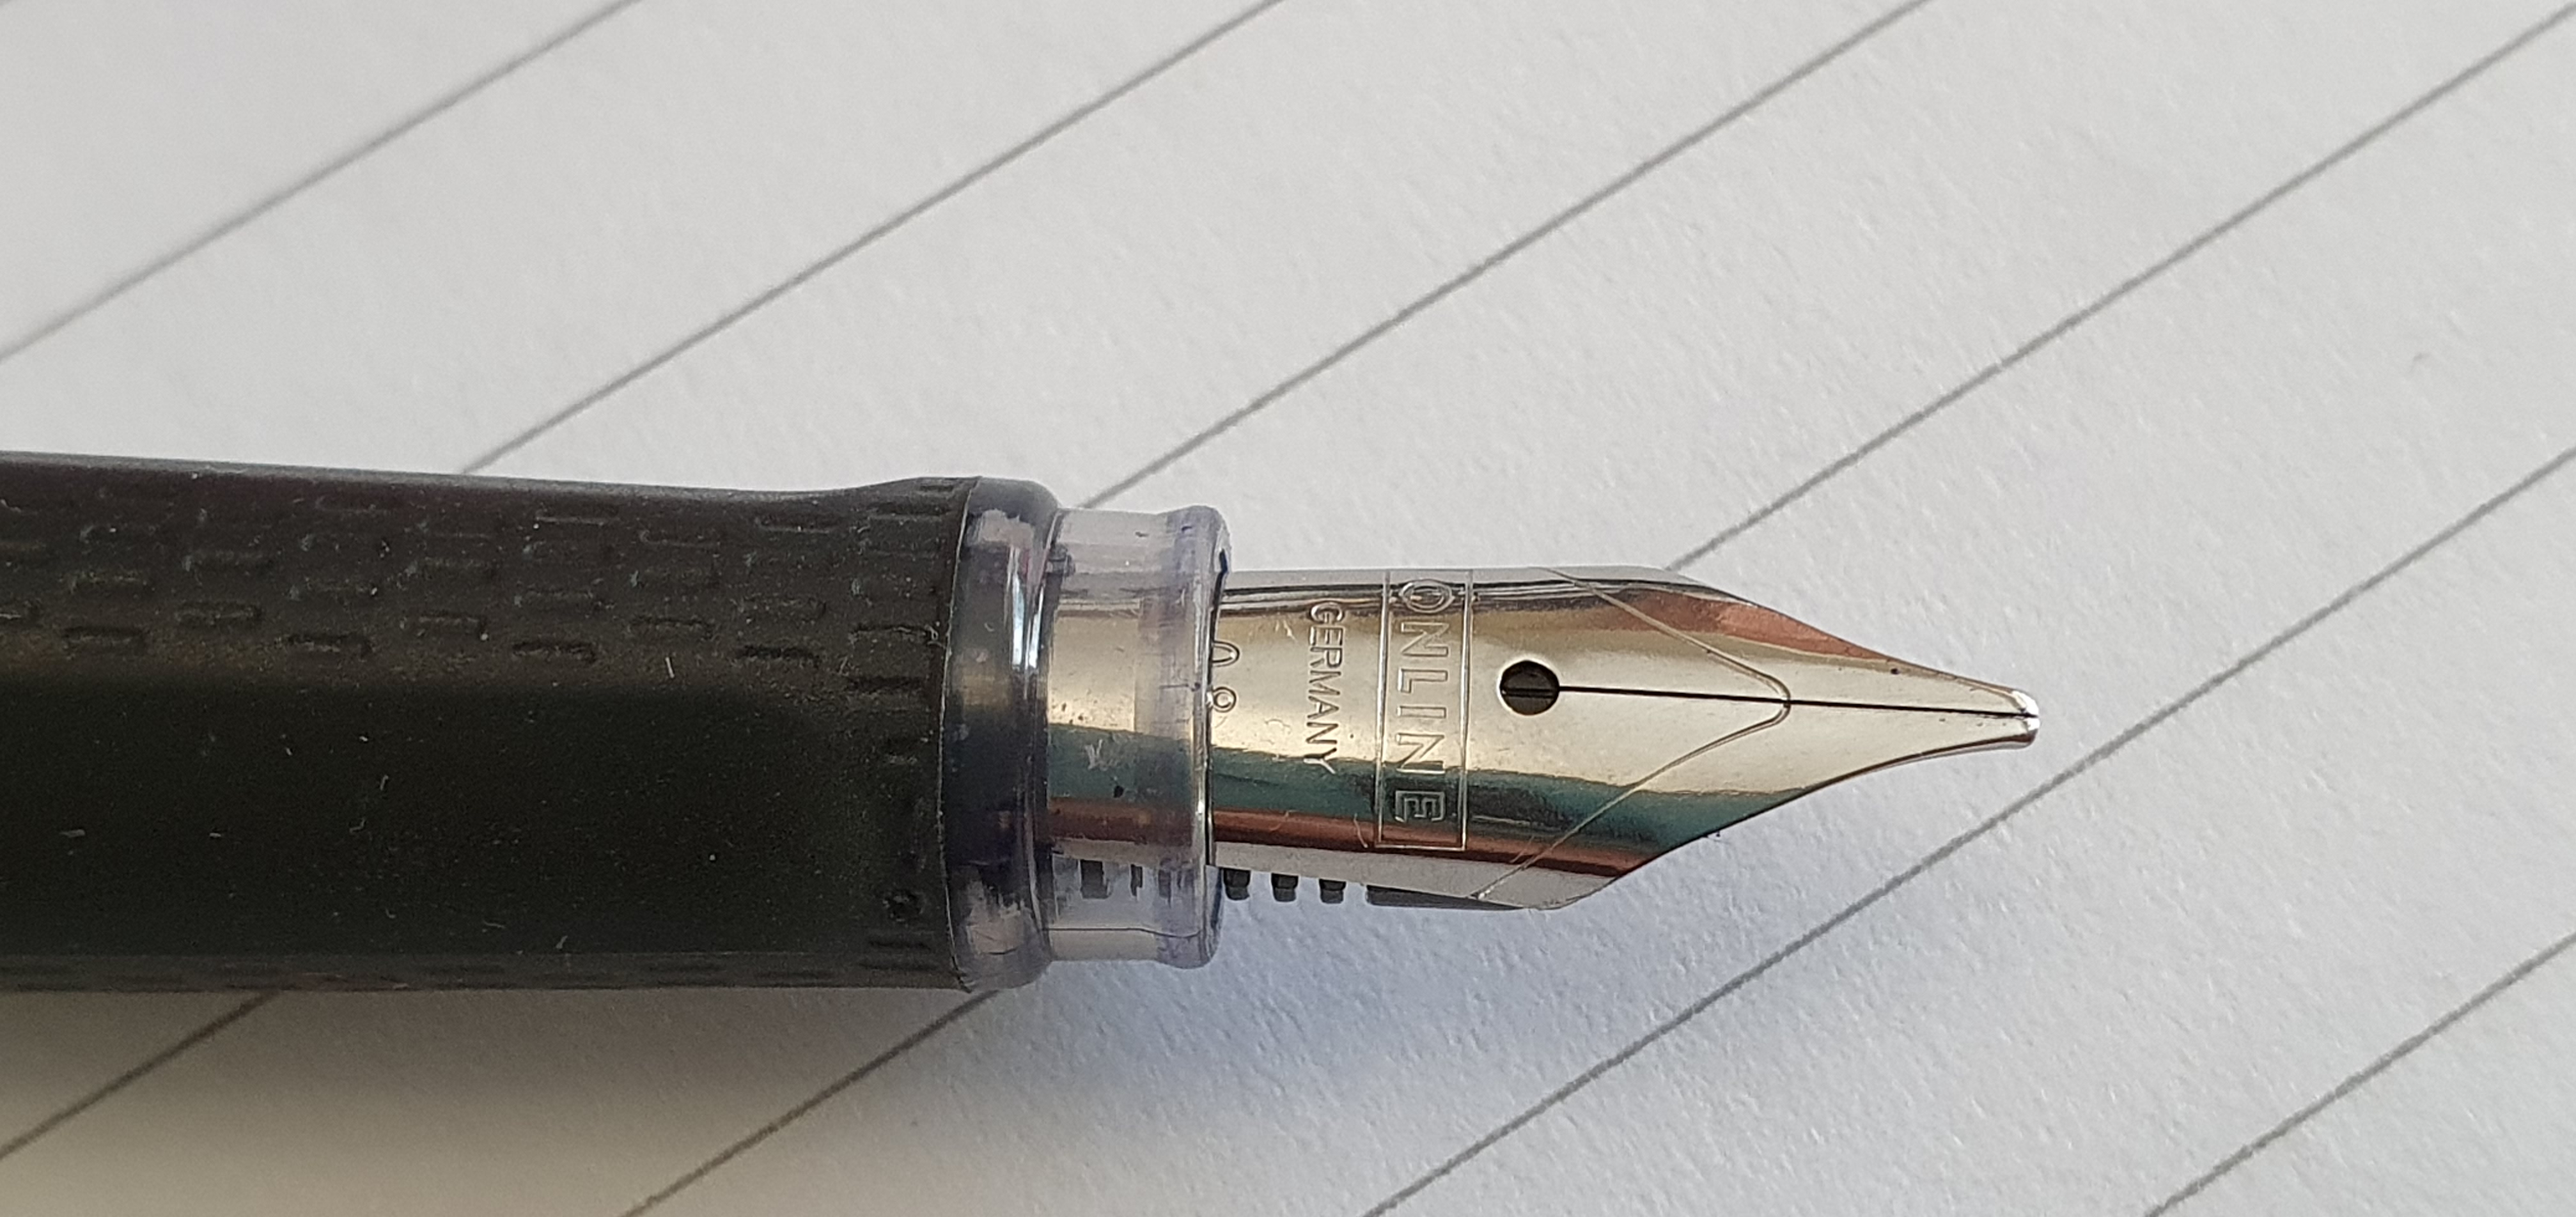
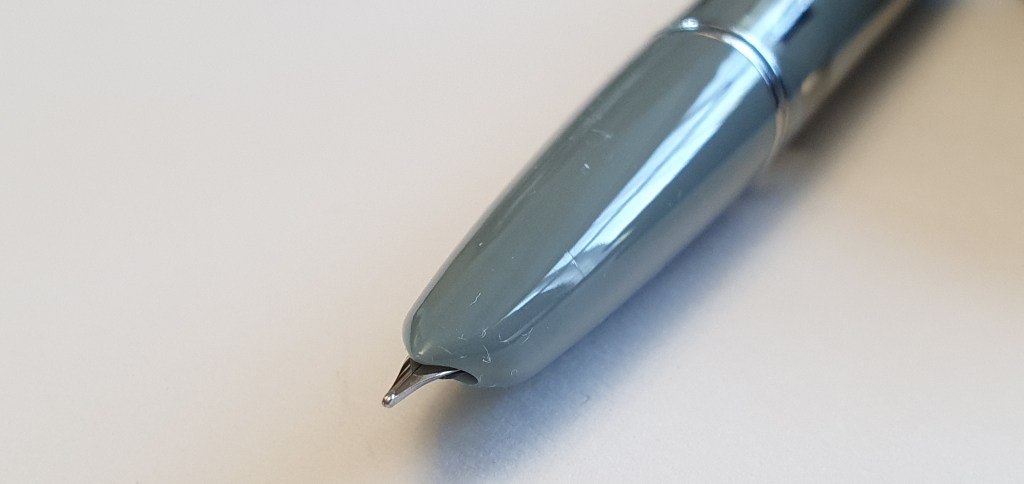
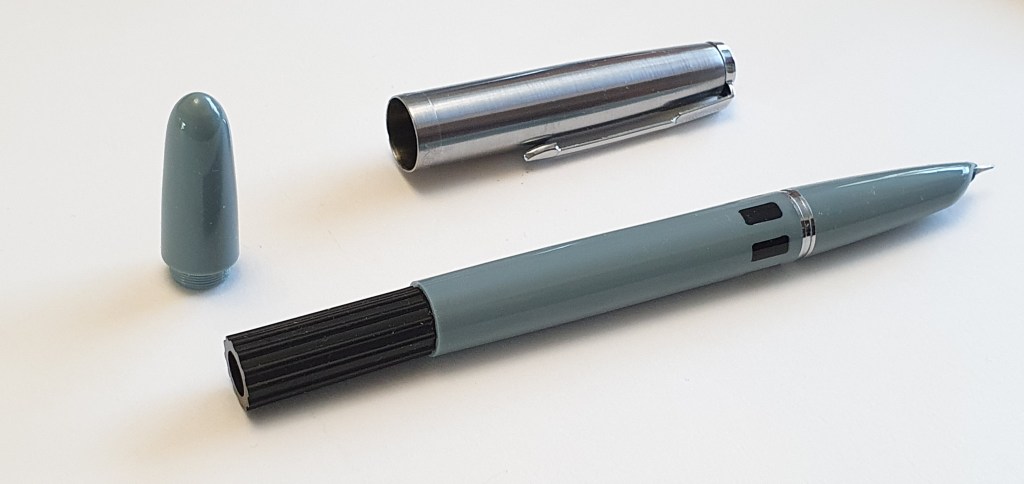
The Wing Sung 601 is a Chinese homage to the classic but long- discontinued Parker 51 vacumatic but with a few differences such as a stainless steel nib, ink windows and a price tag (in this instance) of around £7.50. It came with a small container of silicone grease, (the container being based, confusingly, on a cartridge- converter which has no place in this pen). I prefer to use a thicker silicone grease, which I purchased from a diving shop. My pen did not come with the necessary wrench to unscrew the plunger, but I received one later with the Wing Sung 601A and it also fits the 601.
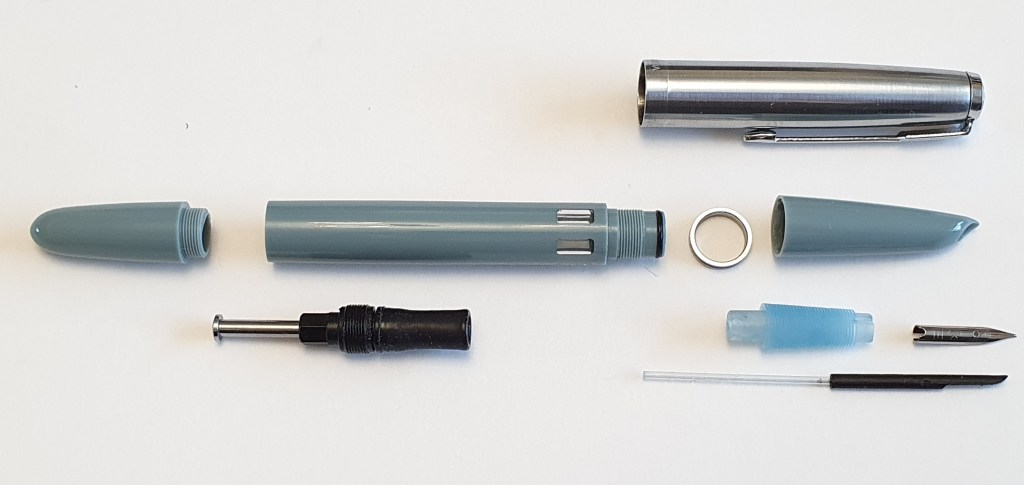
Here are the steps to disassemble and reassemble this pen:-
1. Remove the cap…
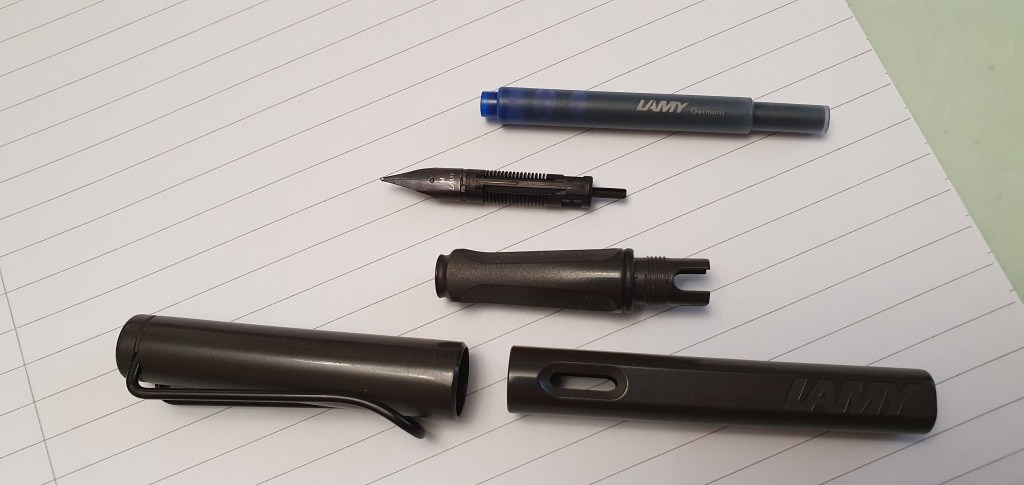
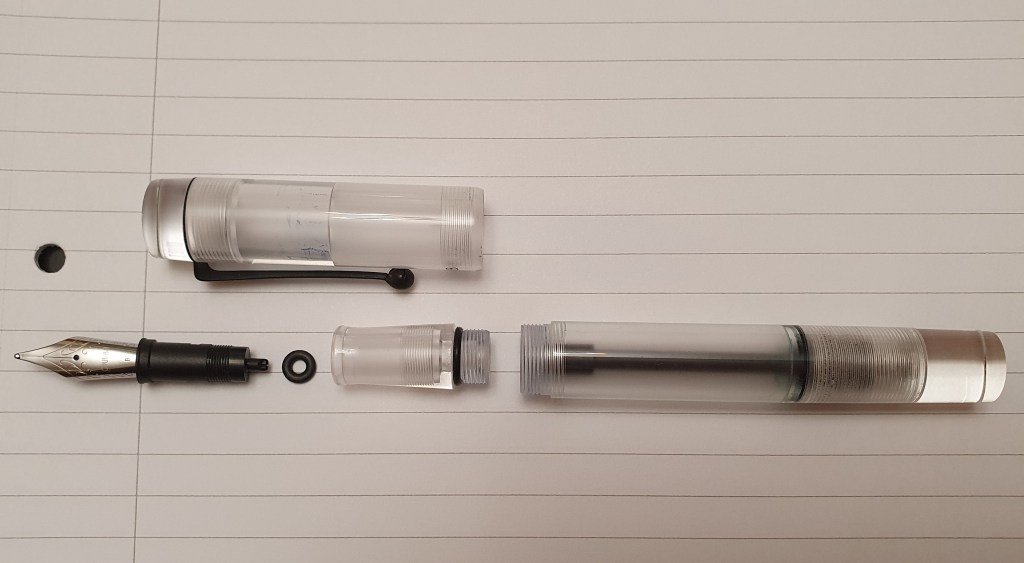
2. Unscrew the front shell, to expose the ink collector, nib and feed. Put the metal cap-retaining ring aside safely. It does not matter which way round it goes back.
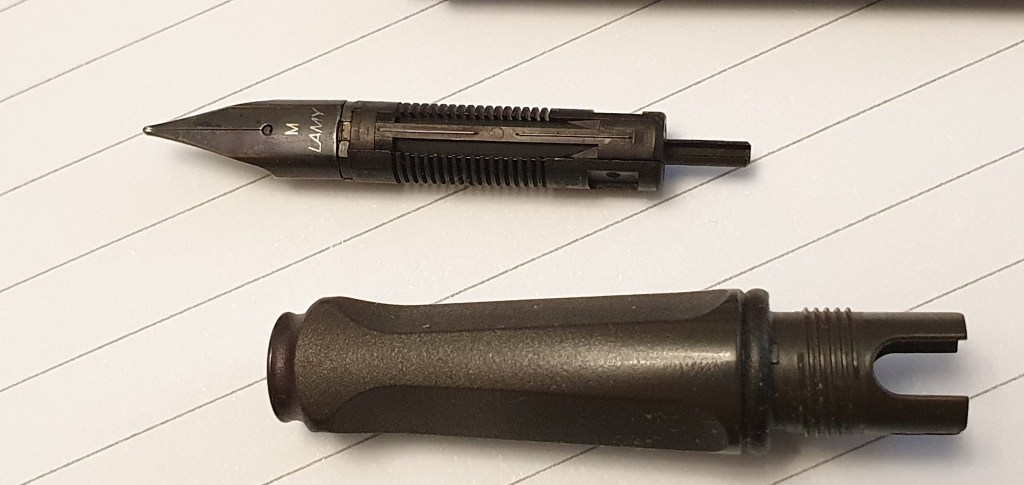
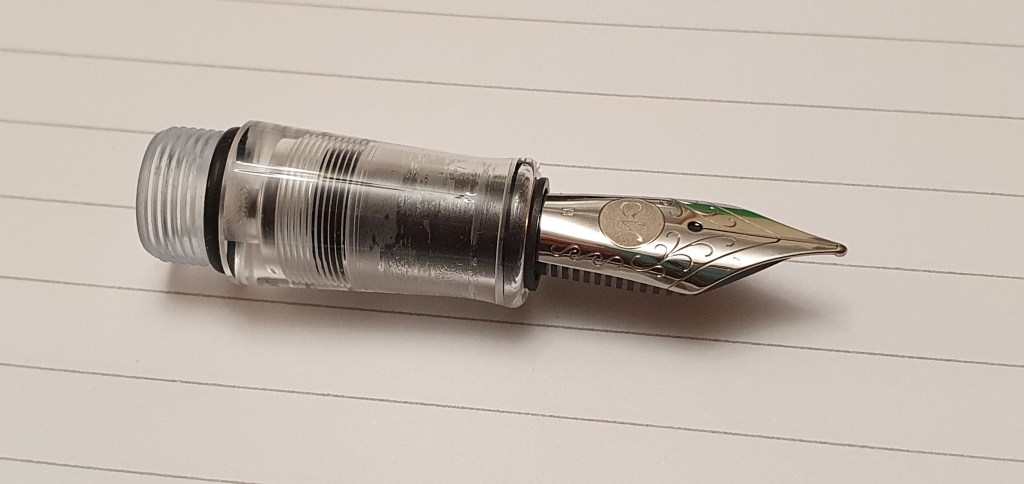
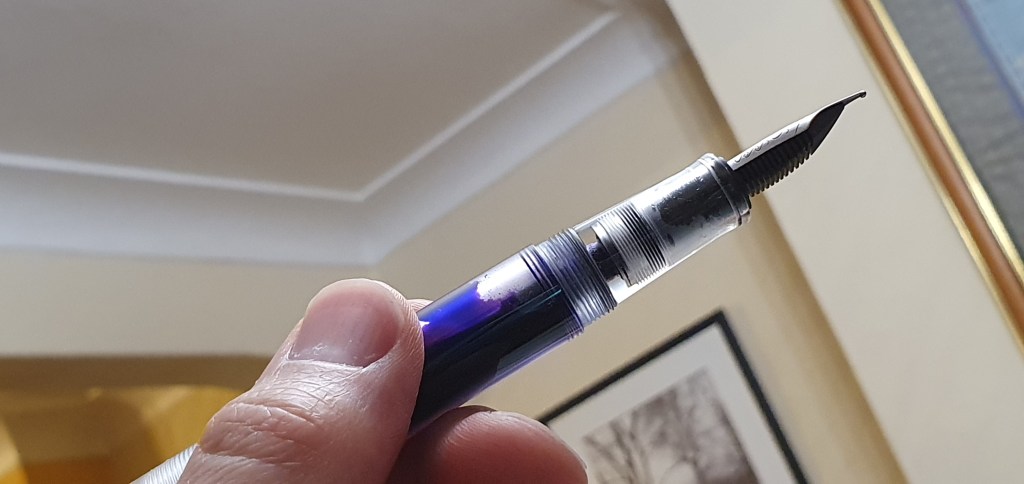
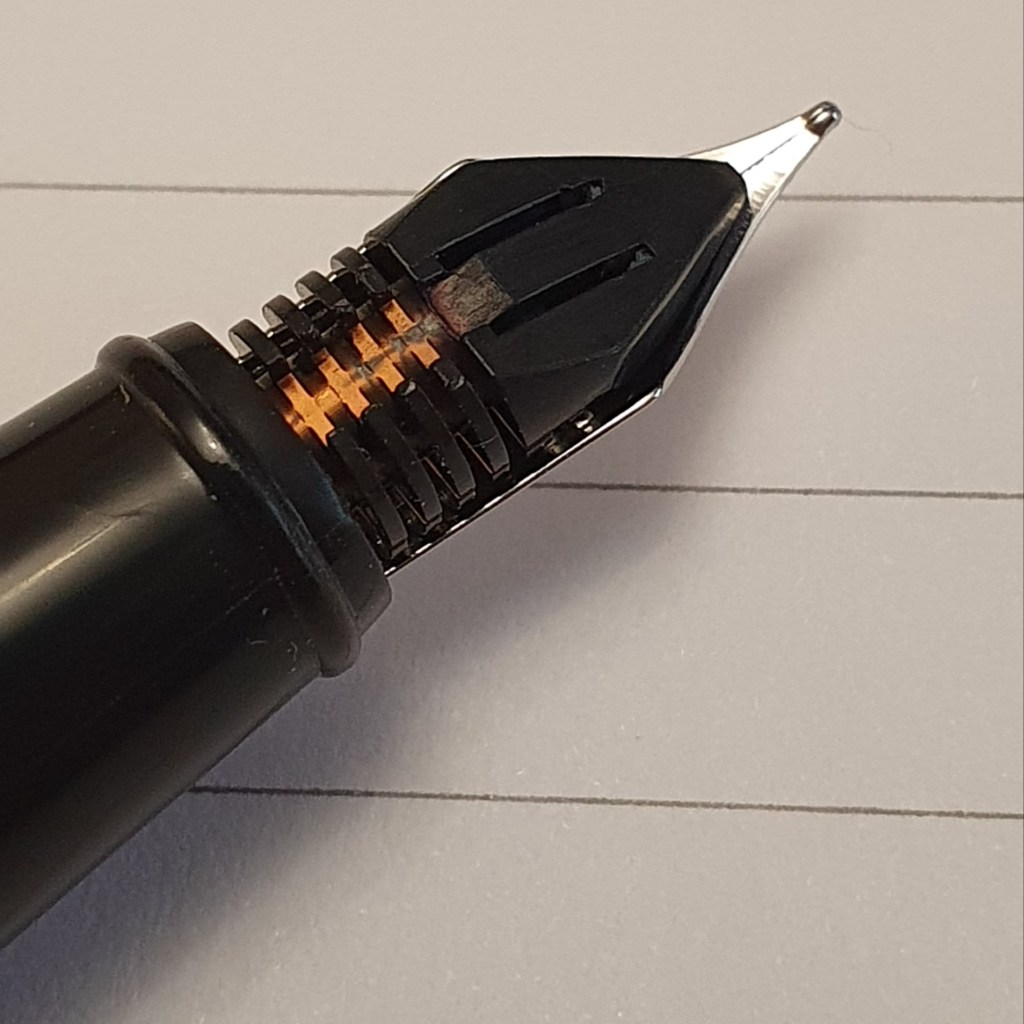
3. Pull the ink collector out from the barrel. The nib and feed are still inside the ink collector, with a clear plastic breather tube at the back.
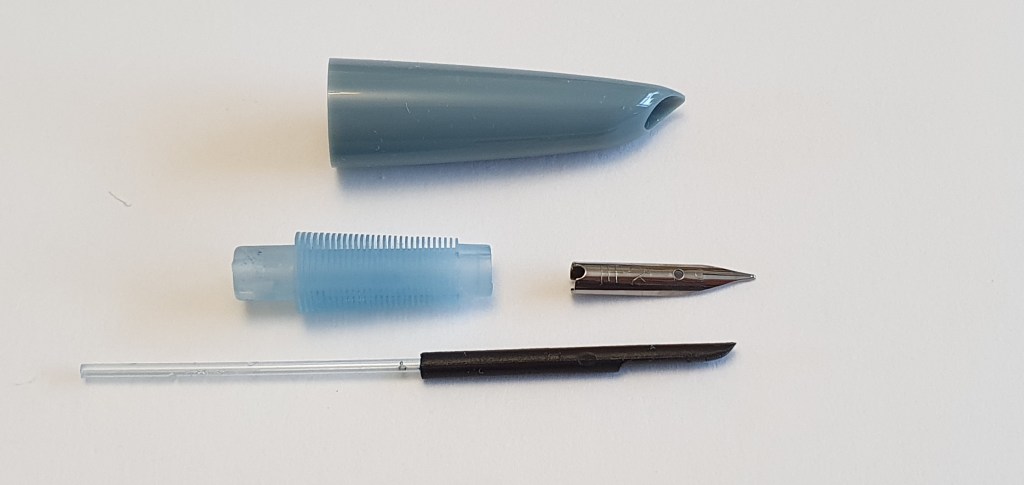
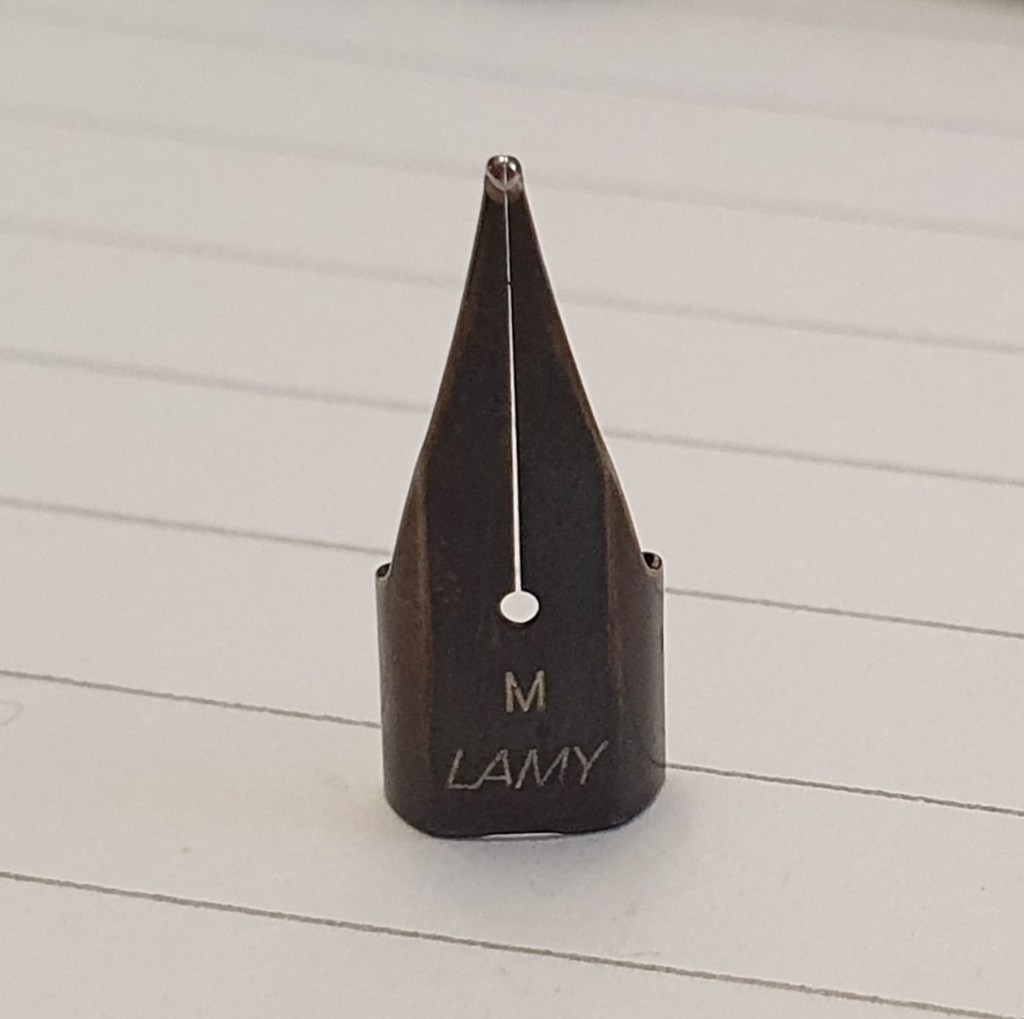
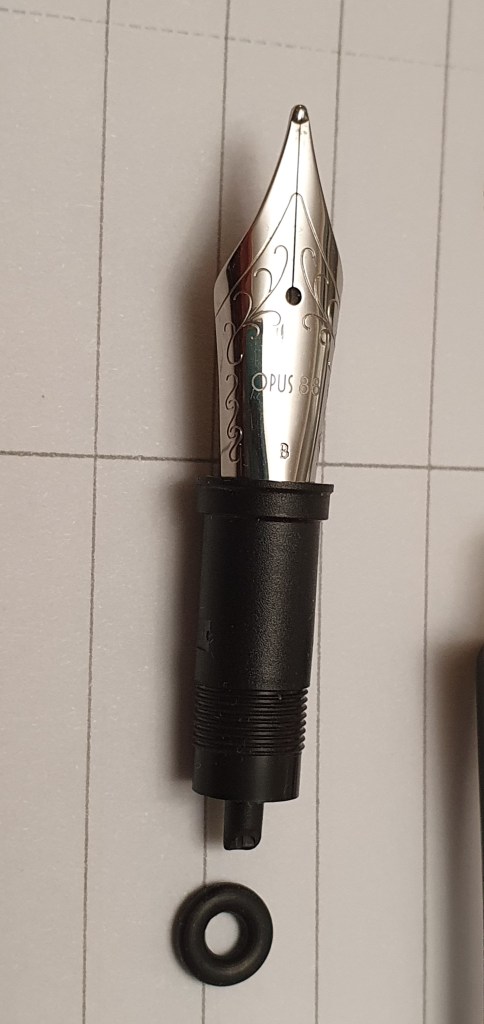
4. Grip the tiny, tubular nib (and the black plastic feed inside) firmly and pull them out of the ink collector. They might be tight and difficult to grip. Be careful not to distort the nib or damage the ink collector. Note: to reduce risk of damage, this stage could be skipped and the assembled nib, feed and ink collector instead be placed in water to soak.

5. Now, for the other end: unscrew the blind cap.
6. Use the wrench to unscrew the plunger mechanism and withdraw it from the barrel, which can then be rinsed. Mine has the soft rubber diaphragm but I have a later version too with a hard plunger instead.
When the parts have been rinsed and it is time to reassemble the pen, proceed as follows:-
7. Replace the black plastic feed (and breather tube) back inside the tubular nib, checking that it is centred symmetrically under the nib. It may be loose, until the nib goes back in the ink collector.
8. Apply some silicone grease to the barrel threads if desired and then replace the metal ring. But before pushing the ink collector back into the barrel, first screw on the front shell, to see where the protruding lip (for the hooded nib) finishes up: this is then the top, or 12 o’clock position. Then, keeping the barrel with the 12 c’clock position at the top, remove the shell again and then push the ink collector back into the barrel, with the nib in line with your 12 o’clock position.
9. Now screw the shell back on, over the ink collector. Hopefully, the lip will now line up over the hooded nib. If it is not quite right, just make a mental note of which way to make the adjustment; remove the shell, turn the ink collector a little to one side or the other as necessary and replace shell. Repeat until symmetrical.
10. Replace plunger. First apply a little silicone grease to the threads if you wish. Tighten with wrench but avoid over tightening.
11. Cap pen and you are done.
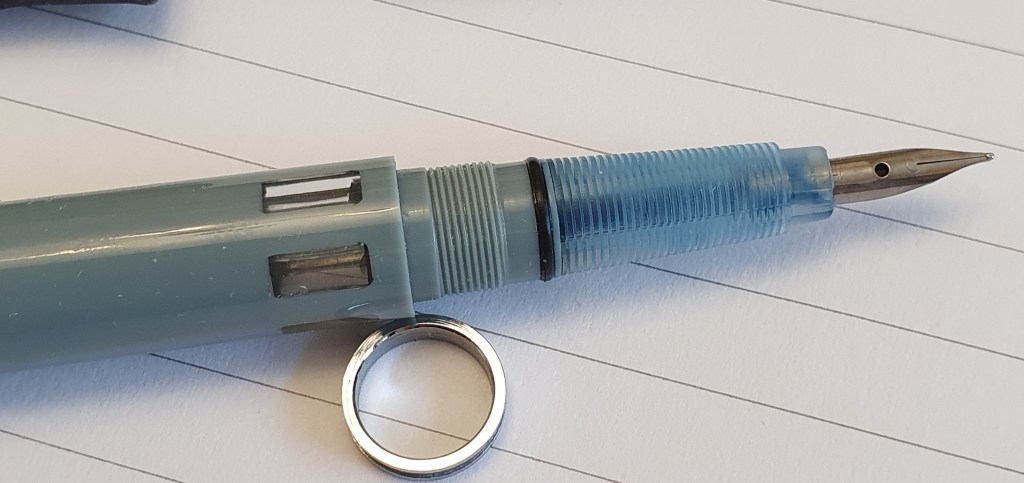
In between washing the pen parts I took the photos for this post. It was only on looking closely at these after refilling, that I noticed the gap all along one side of the ink collector. I feared that I had damaged it, perhaps by squeezing too hard to pull out the nib. However, I checked my other model 601, (a demonstrator version and so I did not even need to remove the section). I could see the same gap all the way down the ink collector and was relieved that it is meant to be like this and not some damage of my doing.

I have inked my pen up once again with Tsuki-yo. I expect it to keep writing until Christmas. It is a great little pen. It has proved to be a very reliable writer and exceptionally good value, especially once you include the pleasure of cleaning it.