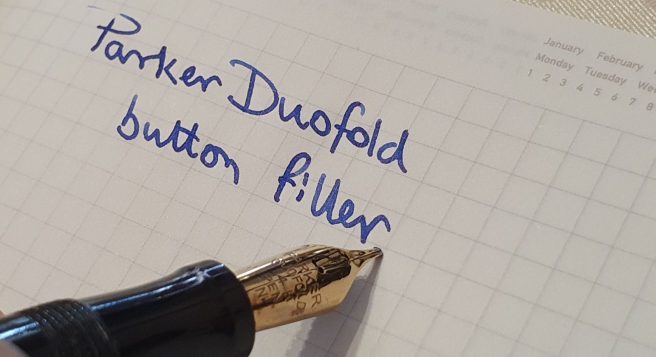
Within the circle of my pen club friends, I am known for enthusing about vintage Parker fountain pens. These are plentiful at pen shows and can represent excellent value, when compared with their modern counterparts.
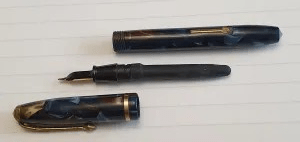
One of my friends bought a vintage Parker Duofold, button filler fountain pen at a recent pen show and asked for my help to get it working and to fix a bent nib. I had completed the Writing Equipment Society’s pen repair course, only last winter. The course was great but attendees still need to practice what they have learned, preferably on their own pens to start with, to gain experience and confidence before being let loose on someone else’s pen. My friend was aware of this but still content for me to have a go.
Having seen a photograph of her pen in pieces, I hoped that it might only need a replacement sac and I suggested that she order one from The Pendragons, whereupon I would have a look at the pen at our next monthly get-together.
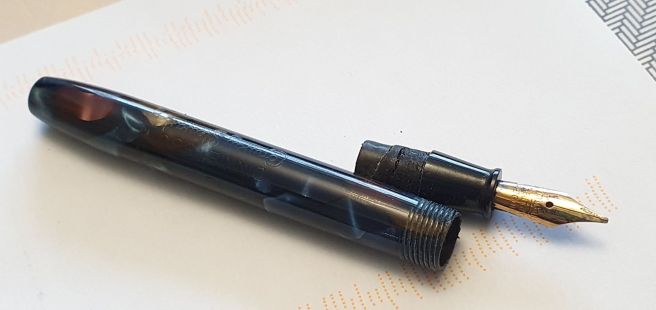
Prior to attending the course, I had not even known what a button-filler pen was. It has an ink sac in the barrel. Alongside the sac, is a thin metal bar with a pressure plate. One end of the bar slots into a recess underneath a button (beneath a “blind cap”). When the button is pushed, the metal bar flexes, pushing a pressure plate against the sac. This forces air out of the sac, sending a stream of bubbles to your ink bottle. Then as the button is released, the sac regains shape and draws up ink.
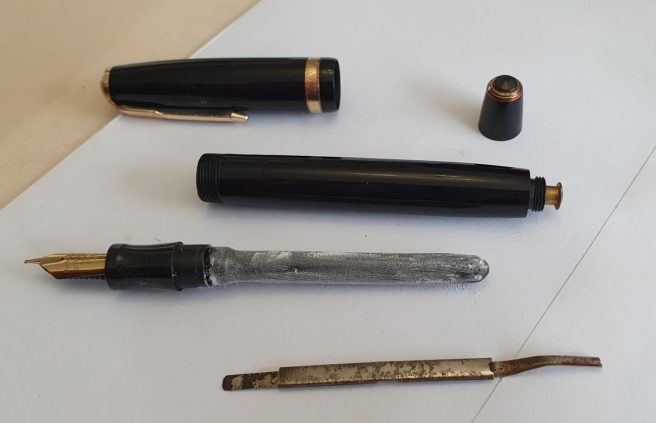
When we met, my friend had already done the hard part, which was to disassemble her pen – remove the barrel, (which was a screw-fit), remove the sac which had perished and also remove the button from the barrel. She had not removed the nib and feed from the section but had purchased a replacement number 17 sac. The repair then went something like this:-
Replacing a sac on a Parker button-filler fountain pen (with a screw-on barrel):
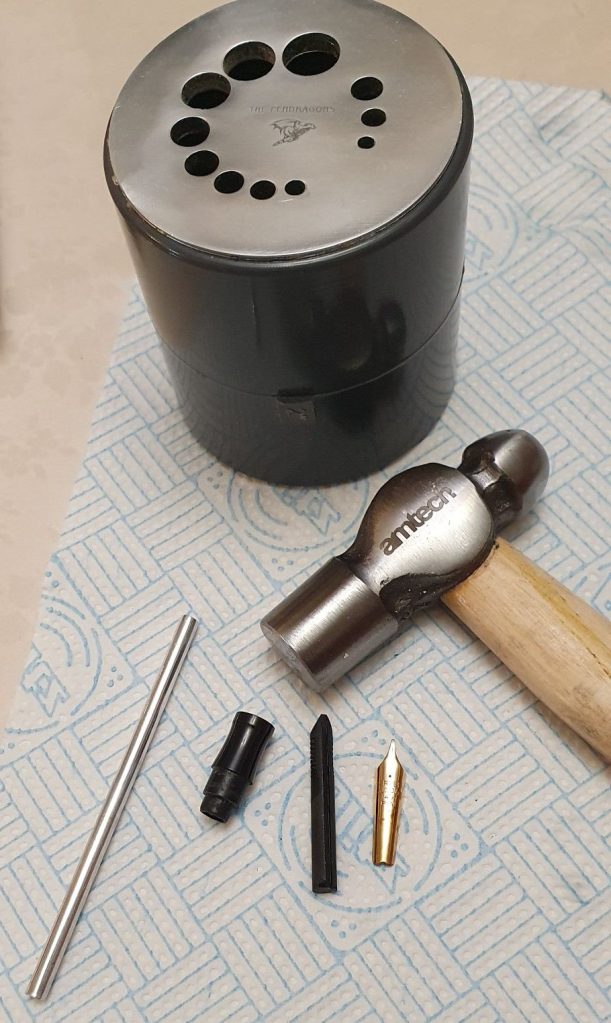
- Examine and clean the parts; the metal bar was free of corrosion; scrape off any residue of the sac from the sac peg;
- Straighten out the nib to re-align the tines;
- Trim the new sac to a length to fit in the barrel;
- Tip: if the section screws into the barrel, there is a risk that, when a new sac is attached, the sac will become twisted as the section is turned; for this reason it is best to remove the nib and feed – either by pulling them firmly, or else by soaking or washing in an ultrasonic bath, applying gentle heat from a heat gun, and then knocking them out using a hammer, a drift and a nib knock-out block. Then, fit the new sac, and insert a rod up through the section and into the sac to prevent it from twisting as you screw the section into the barrel. The nib and feed are then replaced last. However, we did not do this as the nib and feed could not easily be removed.
- I attached the new sac to the sac peg, with shellac and then dusted it with French Chalk;
- Once the section went in the barrel, we could feel the sac twisting. However, it was only catching at the far end and we overcame this by snipping about 5mm off the sac and re-attaching it;
- Once the section was in place, the spring bar was carefully inserted, guiding it through the hole where the button goes. This needs to be slid in with care to avoid catching on the sac. Again, the bar was liberally dusted with French Chalk.
- The push button was then pushed back into the barrel. The pen was ready to fill.
Happily, the pen then filled. Bubbles could be seen and heard, which is what you want. The pen wrote smoothly and all appears to be well.
Being asked to repair someone’s fountain pen is a privilege and an honour but carries risk: a bit like being asked to baptise their child, you do not want to drop it! I was grateful for the honour and relieved that the repair was a success.
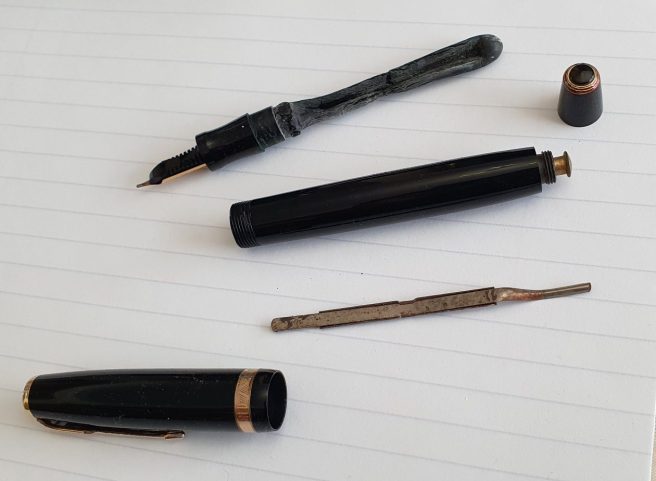
I do have one Parker Duofold button filler of my own, bought at the March London Pen Show. I had not used it much but thought that it was working. But on closer examination, it would write for only two pages before drying out. It appeared that this was just the ink retained in the nib and feed and that the sac was not filling. When pressing the button, no bubbles appeared in the ink bottle. With my newfound optimism, I decided to disassemble my Parker.
The steps were very similar to repairing my friend’s pen and so I will mention only the key differences:
- I soaked the nib and section in water for several hours and then applied some gentle heat from my heat gun, before attempting to remove the barrel. As my tutor used to say, “Soaked pens come apart; unsoaked pens break.”
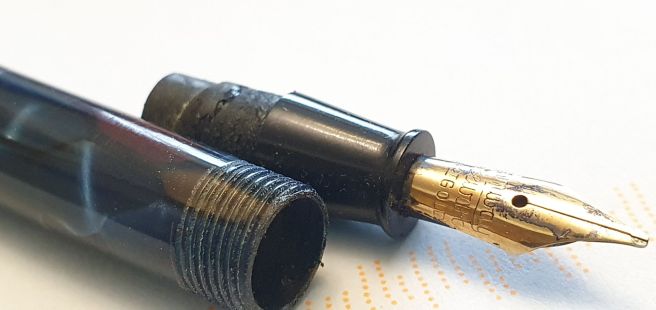
- After about 5 – 10 minutes’ heat, at around 160 degrees, the barrel separated from the section and, unlike my friend’s pen, mine was a simple push-fit, not threaded.
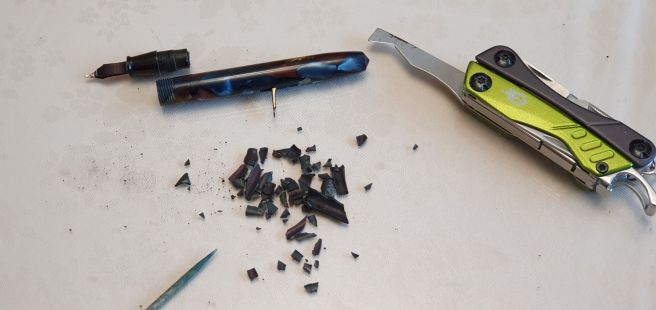
- The sac had indeed perished and was hard and cracked.
- The spring bar had a bit of rust, but was still usable; I dusted it with French Chalk;
- I soaked the section in an ultrasonic, then removed the nib and feed, using a knock-out block with a hammer and drift;
- The new number 17 sac went on nicely, attached with shellac and then dusted with French Chalk
- I had not been able to remove the button, from the end of the barrel. Not wishing to apply excessive force, I left it in place. However this meant that the spring bar could not be inserted through the button hole, after the section and new sac were in place. Instead the spring bar had to be placed in the barrel from the open end, taking care to have the pressure plate facing inwards, before inserting the section with sac attached.
- The pen went back together smoothly and I was ready to fill it.
Since my pen had a push-fit barrel, it was not really necessary to remove the nib and feed and insert a rod into the new sac to prevent twisting when screwing the barrel back on, but it was nice to be able to clean and inspect the nib thoroughly.
Falling at the last hurdle.
However, pride comes before a fall. In my excitement at seeing the pen fill properly, I had neglected to support the pen sufficiently, whilst pressing down on the button. Without realising, I had driven the pen down into the glass bottle and bent the soft gold nib to a right angle.
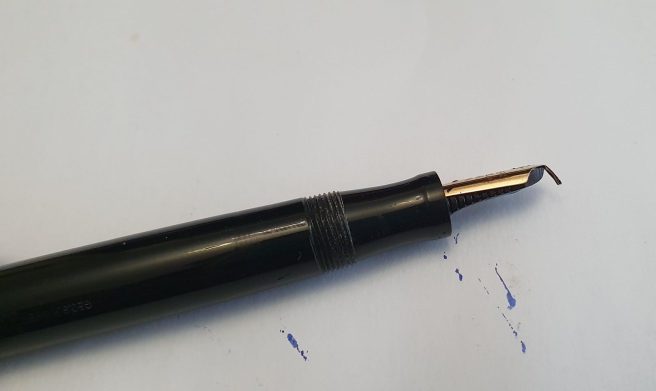
Perhaps I was lucky, but I was able to bend the nib back into shape and do some rudimentary burnishing, using the tools available, namely a wooden McDonalds’ tea stirrer and a table mat. I got the nib back in shape with the tines aligned as best I could. The pen wrote smoothly and well.
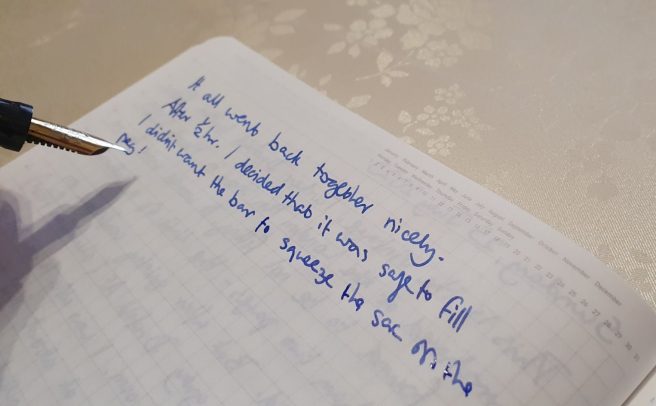
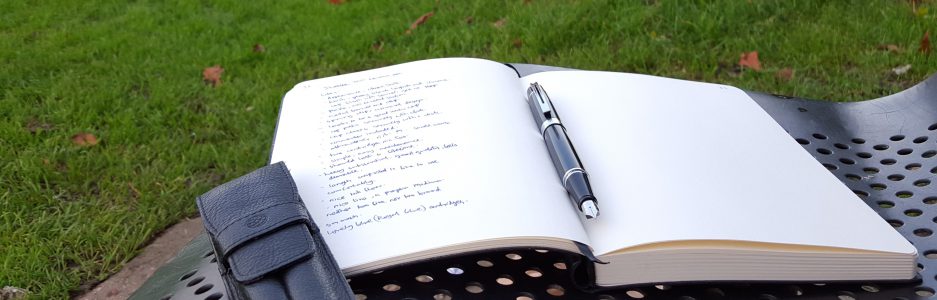
Now that the pen fills properly, I kept track of its output and noted that it wrote for 15 pages of an A5 notebook on one fill.
There is always more to learn, even in a seemingly basic task like replacing a sac or inking your pen! This is why it is best to practice and make your mistakes on your own pens first. With the button filler I tackled my friend’s pen first but I am glad that the Gods of pen repair were aware of this and saved this humbling blunder for my own.